In the realm of marketing and communication, flyers remain a powerful tool for capturing attention and conveying key messages. Designing effective flyers can be a daunting task, but with the help of free PowerPoint templates, the process becomes effortless and accessible to all.
This comprehensive guide will delve into the benefits of using PowerPoint templates for flyer creation, explore a range of visually appealing and impactful templates, and provide invaluable tips on customizing them to suit your specific needs.
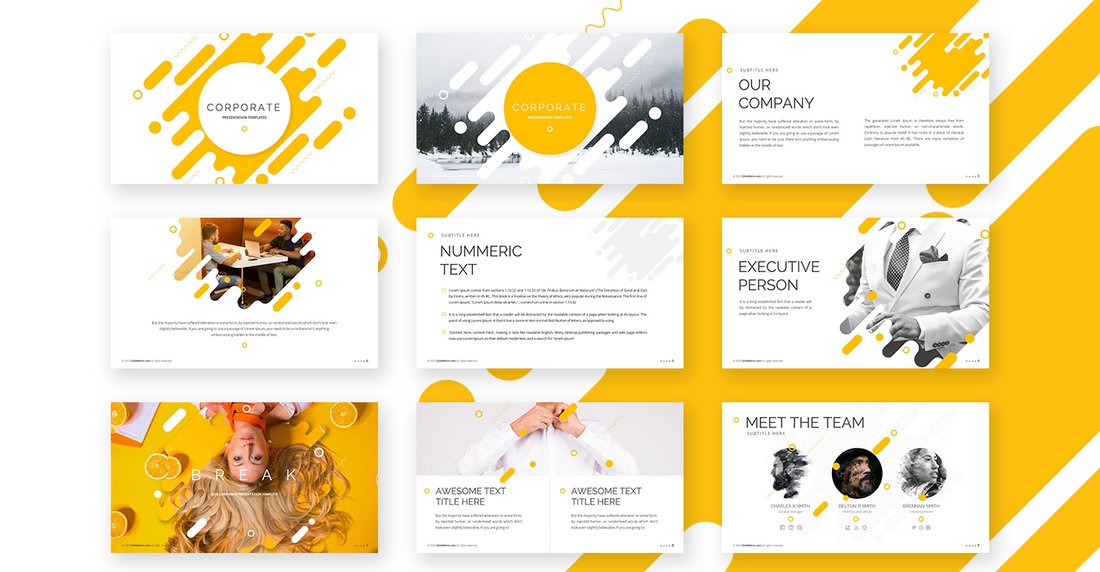
Flyer Templates

Creating eye-catching and informative flyers can be a breeze with PowerPoint templates. These pre-designed layouts provide a solid foundation, allowing you to focus on customizing the content to suit your specific needs.
From vibrant designs to professional layouts, there’s a template to match every style and occasion. Whether you’re promoting an event, showcasing a product, or announcing a special offer, these templates will help you get your message across in a visually appealing way.
Customizing Templates
- Change the colors: Swap out the default colors for a palette that aligns with your brand or the event’s theme.
- Add your own images: Replace the placeholder images with high-quality photos or graphics that capture the essence of your message.
- Edit the text: Customize the headlines, body copy, and call-to-action to convey your message clearly and effectively.
- Experiment with fonts: Choose fonts that complement your design and ensure the text is easy to read.
Free PowerPoint Templates
Kick off your next presentation with a bang using free PowerPoint flyer templates. From eye-catching designs to fully customizable options, there’s a template out there to fit every vibe.
Template Providers
Dive into the realm of free PowerPoint flyer templates with these top-notch providers:
- Microsoft Office: Home to a vast library of templates, including a dedicated section for flyers.
- Canva: A user-friendly platform with a wide selection of customizable templates, perfect for beginners.
- SlideModel: Boasting a premium collection of professional-looking templates, available for free download.
Each provider offers its own set of features, such as:
- Pre-designed layouts to save time and effort.
- Customizable elements, including text, images, and colors.
- Compatibility with Microsoft PowerPoint and Google Slides.
Downloading and Installation
Snagging these free templates is a breeze:
- Visit the provider’s website: Head over to the official website of your chosen template provider.
- Browse and select: Explore the available templates and pick the one that suits your needs.
- Download: Click the “Download” button to save the template to your computer.
- Open in PowerPoint: Launch Microsoft PowerPoint and open the downloaded template.
With these steps, you’ll be ready to rock your presentation with a stunning flyer template.
Designing Flyers with PowerPoint
Flyers are a great way to promote your business, event, or cause. With PowerPoint, you can create professional-looking flyers quickly and easily. Here are a few tips to help you get started:
Start with a template. PowerPoint offers a variety of flyer templates that you can use as a starting point. This can save you time and ensure that your flyer has a consistent look and feel.
Choose the right layout. The layout of your flyer will depend on the purpose of the flyer and the information you want to include. For example, if you’re promoting an event, you’ll want to include the date, time, and location of the event. If you’re promoting a business, you’ll want to include your company name, contact information, and a brief description of your products or services.
Use clear and concise text. The text on your flyer should be easy to read and understand. Avoid using jargon or technical terms that your audience may not be familiar with.
Use high-quality images. Images can help to make your flyer more visually appealing and engaging. Make sure to use high-quality images that are relevant to the topic of your flyer.
Proofread your flyer carefully before printing it. Make sure there are no errors in the text or design. You may also want to have someone else proofread your flyer to catch any errors that you may have missed.
Typography for Flyers

Typography is crucial for effective flyers, as it influences the overall visual appeal and readability. Choosing the right fonts and color combinations can enhance the impact of your message.
Font Pairings
- Pair a bold, sans-serif font for headings with a legible serif font for body text, such as Helvetica with Georgia.
- Consider using a script font for accents or decorative elements.
Color Combinations
- Use high-contrast colors for headings and body text to improve readability.
- Choose complementary or analogous colors for a visually pleasing effect.
- Avoid using too many colors, as it can overwhelm the reader.
Text Effects
- Use bold, italics, or underlining to emphasize important information.
- Drop shadows or gradients can add depth and dimension to text.
- Avoid using excessive text effects, as it can detract from the readability.
Images and Graphics for Flyers
Visuals play a pivotal role in capturing attention and conveying messages effectively. Here’s a guide to selecting, editing, and incorporating high-quality images and graphics into your flyers:
Selecting Images and Graphics
- Choose high-resolution images that are clear and sharp.
- Opt for images that are relevant to your flyer’s topic and message.
- Consider the size and aspect ratio of the images in relation to your flyer’s layout.
Editing Images Using PowerPoint
- Resize images to fit your flyer’s dimensions while maintaining their quality.
- Crop images to remove unnecessary elements and focus on the most important parts.
- Adjust brightness, contrast, and color to enhance the visual impact of your images.
Incorporating Graphics
- Use shapes, lines, and other graphic elements to add visual interest and structure to your flyer.
- Consider the color scheme of your flyer and choose graphics that complement it.
- Arrange graphics strategically to guide the reader’s eye through your flyer’s content.
Call-to-Action on Flyers
A call-to-action (CTA) is a crucial element of any flyer. It tells the reader what you want them to do next, whether it’s visiting your website, signing up for a newsletter, or making a purchase. A strong CTA can make the difference between a successful flyer and one that ends up in the trash.
There are a few key things to keep in mind when creating a call-to-action for your flyer:
- Make it clear and concise. Your CTA should be easy to understand and impossible to miss. Use action verbs and avoid jargon.
- Make it relevant to your audience. Your CTA should be tailored to the specific needs and interests of your target audience.
- Make it easy to act on. Your CTA should be easy to follow. Provide clear instructions and make sure your website or landing page is easy to navigate.
Effective CTA Phrases
Here are some examples of effective CTA phrases:
- Visit our website to learn more
- Sign up for our newsletter
- Call us today
- Order now
- Get your free quote
Button Designs
The design of your CTA button can also impact its effectiveness. Here are a few tips:
- Use a contrasting color for your button so that it stands out from the rest of the flyer.
- Make your button large enough to be easily clicked.
- Use a call-to-action verb in the button text.
Placement of CTA
The placement of your CTA on the flyer is also important. Here are a few tips:
- Place your CTA in a prominent location on the flyer, such as the top or bottom.
- Make sure your CTA is visible from a distance.
- Avoid placing your CTA too close to other elements on the flyer, such as images or text.
By following these tips, you can create a call-to-action that will help you get the results you want from your flyer.
Printing and Distributing Flyers
Once you’ve got your flyers looking slick, it’s time to get ’em out there. Let’s chat about printing and distribution.
Printing Options
- Paper types: Go for glossy if you want that extra shine, or matte for a more subtle look.
- Sizes: Standard A4 or A5 flyers are common, but you can also go for custom sizes to stand out.
Preparing for Printing
- Bleed area: Extend your design beyond the cut lines to avoid white edges.
- CMYK color mode: This is what printers use, so convert your design accordingly.
- High-resolution images: Use images with at least 300 DPI to avoid blurry prints.
Distribution Methods
- Local businesses: Ask nearby shops, cafes, or community centers to display your flyers.
- Community centers: Drop off flyers at local libraries, recreation centers, or notice boards.
- Social media: Share digital copies of your flyer on social media platforms.
Questions and Answers
Where can I find free PowerPoint flyer templates?
There are numerous websites and platforms that offer a vast collection of free PowerPoint flyer templates. Some popular options include Microsoft Office, Canva, and SlideModel.
How do I download and install free PowerPoint templates?
Downloading and installing free PowerPoint templates is a straightforward process. Simply navigate to the desired template provider’s website, select the template you want, and follow the instructions for downloading and installing it into your PowerPoint software.
Can I use free PowerPoint templates for commercial purposes?
The usage rights for free PowerPoint templates vary depending on the provider. Some templates may be available for personal and commercial use, while others may have restrictions. It’s important to check the license terms of the template before using it for commercial purposes.
What are some tips for creating effective flyer content?
To create clear and concise flyer content, focus on highlighting key information, using bullet points and short paragraphs, and employing strong visuals to support your message.