Creating flyers is a common task for businesses and individuals alike. Flyers are a great way to promote events, products, or services. If you’re looking for an easy and affordable way to create flyers, Google Docs is a great option.
Google Docs offers a variety of flyer templates that you can use to create professional-looking flyers in minutes. In this guide, we’ll show you how to use Google Docs to create flyers, customize flyer templates, share and collaborate on flyers, export flyers, and use advanced flyer design techniques.
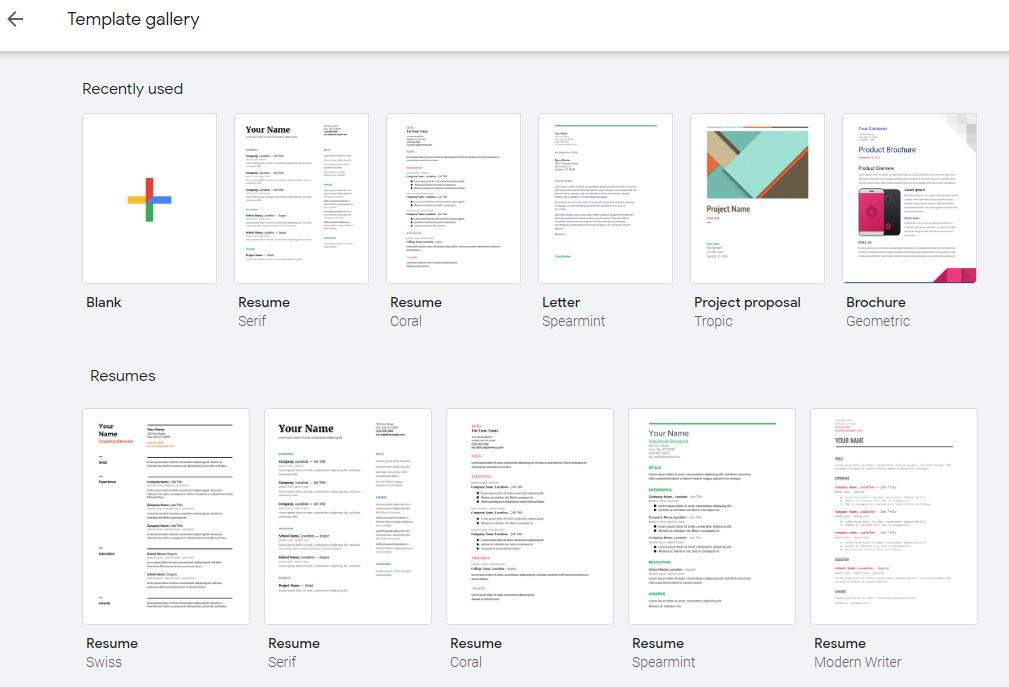
Flyer Templates in Google Docs

Google Docs offers a wide range of professionally designed flyer templates to choose from. These templates are fully customizable, allowing you to create stunning flyers with ease.
Using Google Docs for creating flyers has several benefits. It’s free to use, making it an accessible option for anyone. The templates are easy to use, even for beginners, and you can collaborate with others in real-time, making it a great tool for teamwork.
Range of Templates
Google Docs offers a variety of flyer templates to suit different needs, including:
- Event flyers: Promote upcoming events, such as concerts, parties, or conferences.
- Business flyers: Advertise products, services, or special offers.
- Informational flyers: Share important information about a topic, such as a health campaign or a community event.
Customizing Flyer Templates
Customizing flyer templates in Google Docs is a breeze. With just a few clicks, you can add images, text, and other elements to create visually appealing flyers that will get your message across loud and clear.
Adding Images
To add an image to your flyer, simply click on the “Insert” menu and select “Image.” You can then choose to upload an image from your computer or select one from Google’s image library. Once you’ve added an image, you can resize and crop it to fit your flyer.
Adding Text
To add text to your flyer, simply click on the “Insert” menu and select “Text Box.” You can then type your text into the text box and format it as desired. You can change the font, size, color, and alignment of your text to create a look that you’re happy with.
Adding Other Elements
In addition to images and text, you can also add other elements to your flyer, such as shapes, lines, and charts. To add a shape, click on the “Insert” menu and select “Shape.” You can then choose from a variety of shapes, including rectangles, circles, and triangles. To add a line, click on the “Insert” menu and select “Line.” You can then draw a line anywhere on your flyer. To add a chart, click on the “Insert” menu and select “Chart.” You can then choose from a variety of chart types, including bar charts, line charts, and pie charts.
Tips for Creating Visually Appealing Flyers
Here are a few tips for creating visually appealing flyers:
- Use high-quality images that are relevant to your message.
- Use a consistent color scheme throughout your flyer.
- Use contrasting colors to make your text easy to read.
- Use white space to create a clean and uncluttered look.
- Keep your flyer concise and to the point.
Sharing and Collaborating on Flyers
Collaborating on flyers in Google Docs allows multiple users to work on the same flyer simultaneously, making it easy to gather feedback and create a polished final product.
To share a flyer, click the “Share” button in the top right corner of the document. You can then enter the email addresses of the people you want to share the flyer with, and choose whether they can edit or just view the document.
Collaborating on flyers has many benefits, including:
- Getting feedback from others on your design
- Working together to create a flyer that everyone is happy with
- Saving time by not having to create multiple versions of the flyer
Here are some tips for sharing and collaborating on flyers in Google Docs:
- Make sure to give everyone who is collaborating on the flyer edit access so they can make changes.
- Use the comment feature to leave feedback on specific parts of the flyer.
- Be respectful of other people’s time and contributions.
Exporting Flyers
Google Docs offers various options to export your flyers, allowing you to share them in different formats depending on your needs.
File Formats
Google Docs allows you to export flyers in several file formats, each with its advantages and disadvantages:
- PDF (Portable Document Format): A versatile format that preserves the layout and formatting of your flyer, making it ideal for printing or sharing as a static document. It’s widely supported and can be opened on most devices.
- PNG (Portable Network Graphics): A raster image format that produces high-quality images with a transparent background. It’s suitable for online sharing and use in web graphics.
- JPEG (Joint Photographic Experts Group): Another raster image format that offers good image quality with smaller file sizes compared to PNG. It’s commonly used for web graphics and social media.
- SVG (Scalable Vector Graphics): A vector-based format that allows you to scale your flyer without losing quality. It’s suitable for creating logos, icons, and other graphics that need to be resized.
Exporting Steps
To export your flyer, click on the “File” menu in Google Docs and select “Download.” Choose the desired file format from the options provided and click “Export.”
Google Docs also provides a “Shareable Link” option that allows you to share your flyer online without downloading it. This link can be shared with others who can view or download the flyer.
Advanced Flyer Design Techniques
For creating visually striking and impactful flyers in Google Docs, you can venture beyond basic templates and delve into advanced design techniques. Experiment with tables and other elements to craft custom layouts that cater to your specific needs.
Using Tables for Custom Layouts
Tables offer a flexible framework for organizing and aligning content on your flyer. Insert a table and customize its dimensions, borders, and cell padding to create a unique layout. You can use tables to:
– Divide the flyer into distinct sections for different types of information.
– Align text, images, and other elements precisely for a polished look.
– Create visually appealing grids or columns to enhance readability.
Advanced Typography and Effects
Google Docs provides a range of typography options to enhance the visual appeal of your flyers. Explore different fonts, sizes, and colors to create eye-catching headlines, subheadings, and body text. Additionally, you can apply effects like bold, italic, underline, and strikethrough to emphasize important elements.
Incorporating Images and Graphics
Images and graphics can elevate your flyer’s visual impact and convey information effectively. Insert high-quality images relevant to your topic and resize, crop, or adjust their brightness and contrast to optimize their appearance. You can also add shapes, lines, or other graphical elements to create visual interest and guide the reader’s attention.
Examples of Advanced Flyer Designs
Here are a few examples of advanced flyer designs created in Google Docs:
– A flyer for a charity event featuring a vibrant color scheme, bold typography, and a table to list event details.
– A promotional flyer for a new product using a sleek, minimalist design with high-quality product images and a call-to-action.
– A flyer for a community meeting employing a visually engaging layout with multiple columns, images, and a clear agenda.
By embracing advanced design techniques, you can create professional-looking flyers that effectively communicate your message and leave a lasting impression on your audience.
Flyer Design Inspiration

Get inspired by these stunning flyer designs created using Google Docs. From eye-catching visuals to creative layouts, these examples will spark your imagination and help you create flyers that stand out.
Showcase Examples
- Vibrant Event Flyer: Featuring a bold color palette and dynamic typography, this flyer invites attendees to an unforgettable celebration.
- Elegant Product Launch Flyer: With a sophisticated design and high-quality images, this flyer effectively promotes a new product and its key features.
- Minimalist Workshop Flyer: Using clean lines and simple typography, this flyer clearly communicates the essential details of an upcoming workshop.
External Resources
Explore these websites for additional flyer design inspiration:
Latest Trends
Keep up with the latest trends in flyer design:
- Bold Typography: Use large, eye-catching fonts to make your flyers impossible to ignore.
- Geometric Shapes: Incorporate geometric shapes into your design to create a modern and visually appealing look.
- Negative Space: Leave plenty of white space in your design to enhance readability and create a sense of elegance.
FAQ Corner
Can I use Google Docs to create flyers?
Yes, Google Docs offers a variety of flyer templates that you can use to create professional-looking flyers in minutes.
How do I customize a flyer template in Google Docs?
You can customize a flyer template in Google Docs by adding your own text, images, and other elements. You can also change the layout of the template to create a unique look.
Can I share and collaborate on flyers in Google Docs?
Yes, you can share and collaborate on flyers in Google Docs with other people. This is a great way to get feedback on your flyers and make sure that they’re perfect before you print them.
How do I export a flyer from Google Docs?
You can export a flyer from Google Docs in a variety of formats, including PDF, JPG, and PNG. This makes it easy to print your flyers or share them online.
What are some advanced flyer design techniques that I can use in Google Docs?
There are a number of advanced flyer design techniques that you can use in Google Docs, such as using tables to create custom layouts and adding images and other elements to create a visually appealing design.